Rich Brownies With Chocolate Chips
Highlighted under: Daily Inspiration
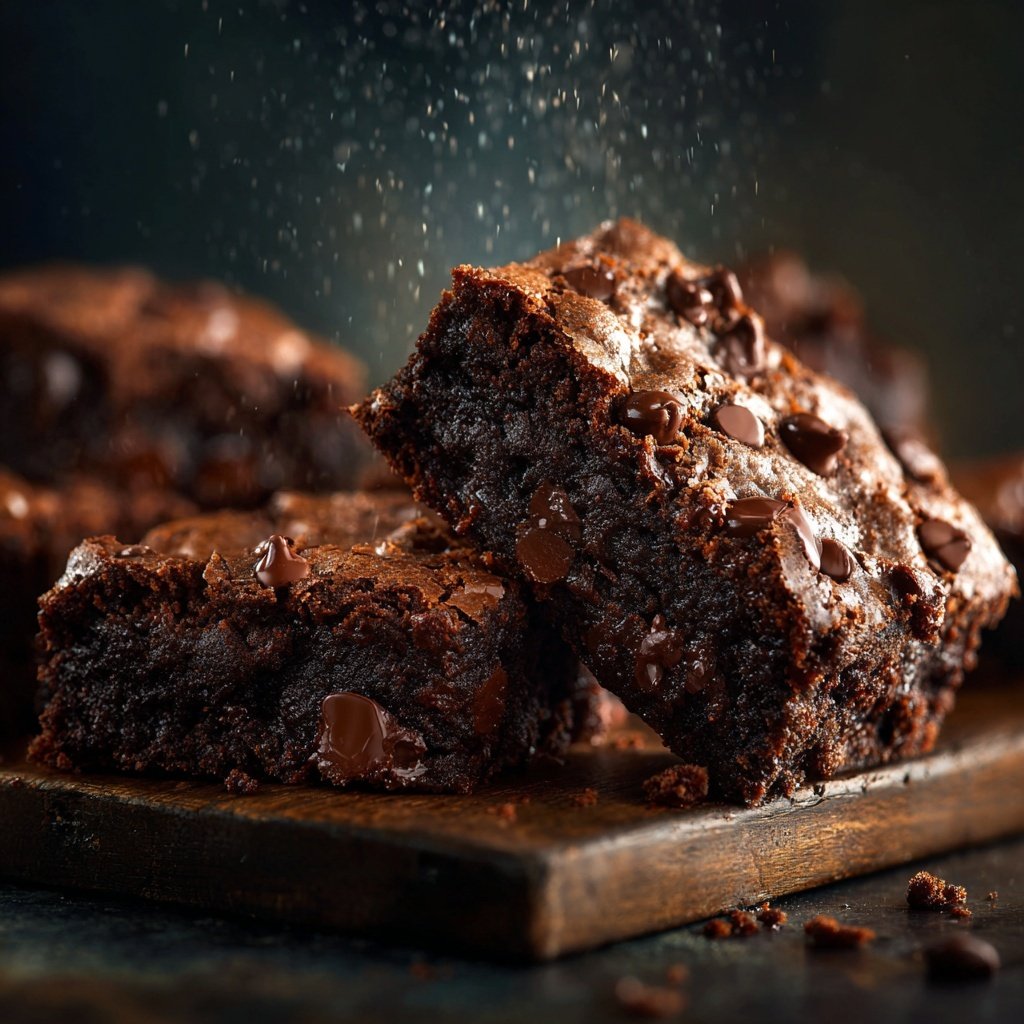
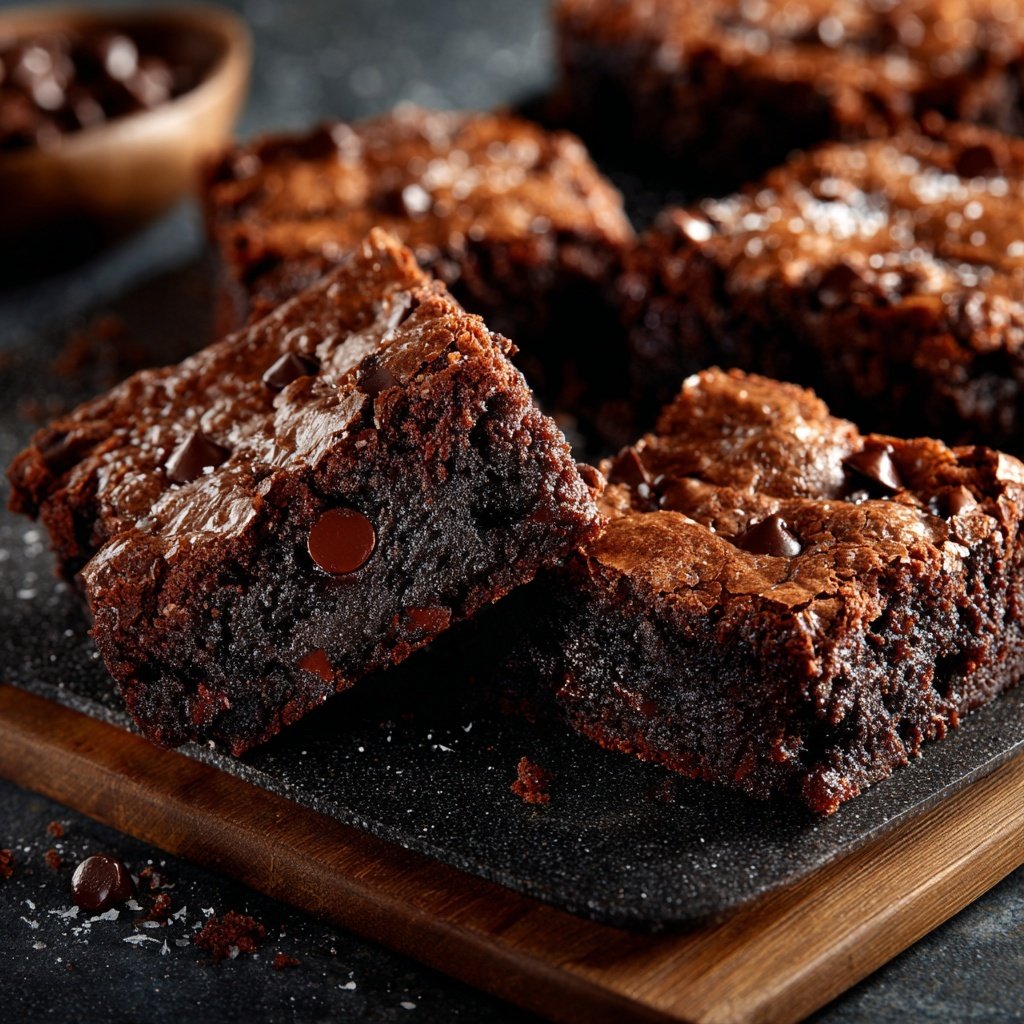
When I set out to make these rich brownies with chocolate chips, I was determined to create something that would impress even the most discerning chocolate lovers. As I combined the ingredients, I couldn't help but think about the balance between the fudgy texture and the decadent chocolate chips. After a few tweaks, I discovered the right amount of cocoa and butter made all the difference. The result? A batch of brownies that are not only rich in flavor but also irresistibly gooey and perfect for any occasion.
I remember the first time I baked these brownies; the aroma filled my kitchen and made my mouth water in anticipation. Each bite offers a deep chocolate experience, and the addition of chocolate chips elevates them to a level of indulgence that's hard to resist. A little trick I learned along the way is to let the batter rest for 10 minutes before baking. It enhances the texture and brings out the rich flavors even more.
These brownies are perfect for sharing, especially during gatherings or celebrations. I often slice them into squares and serve them warm with a scoop of vanilla ice cream on top. The contrast of the warm brownie and cold ice cream is simply phenomenal. Don’t forget to sprinkle a touch of sea salt on top before serving for that perfect contrast of flavors!
Why You Will Love These Brownies
- Gooey center with a rich chocolate flavor
- Generous chunks of chocolate chips in every bite
- Perfectly balanced sweetness with a hint of salt
A Journey to the Perfect Brownie
Creating the ideal brownie is an art that balances fudginess and richness. The unsalted butter, in this recipe, plays a crucial role in achieving that perfect texture. It not only provides a moist base but also enhances the chocolate flavor. Melting the butter before mixing with sugar helps to create a glossy batter that signals you’re on the right track to creating brownies that have that desirable sticky quality.
Cocoa powder is the backbone of these brownies, contributing to their deep chocolate flavor. I often recommend using high-quality unsweetened cocoa powder, as it can transform the taste of your brownies. When sifting this with flour and salt, it ensures an even distribution of dry ingredients, which is essential for consistent texture throughout the batch. Remember, the final batter should be thick but pourable, which is a great visual cue for doneness.
Tips for Baking Success
When pouring your brownie batter into the greased baking pan, it's important to spread it evenly to ensure uniform baking. I find using a spatula to smooth down the top makes a difference in achieving those beautiful, even edges with a perfectly gooey center. Watch for visual cues while baking; the edges should slightly pull away from the pan while the center remains soft—this indicates they are done but still fudgy.
Cooling your brownies is just as important as baking them. After removing the pan from the oven, let them cool in the pan for at least 10 minutes before cutting. This brief cooling period allows the brownies to set, making it easier to achieve clean cuts. If you’re impatient, quickly placing them in the refrigerator for an additional 10 minutes can also help to firm them up for slicing.
Ingredients
Gather the following ingredients to create these rich brownies:
Brownie Ingredients
- 1 cup unsalted butter, melted
- 2 cups granulated sugar
- 4 large eggs
- 1 teaspoon vanilla extract
- 1 cup all-purpose flour
- 1 cup unsweetened cocoa powder
- 1/2 teaspoon salt
- 1 cup semi-sweet chocolate chips
Make sure to have everything measured and ready for a smooth baking process!
Instructions
Follow these simple steps to bake your rich brownies:
Preheat and Combine
Preheat your oven to 350°F (175°C). In a large mixing bowl, combine the melted butter and granulated sugar. Mix well until creamy, then add the eggs one at a time, incorporating each well before adding the next. Stir in the vanilla extract.
Mix Dry Ingredients
In another bowl, sift together the flour, cocoa powder, and salt. Gradually add this dry mixture to the wet ingredients, stirring until just combined. Be careful not to overmix!
Fold in Chocolate Chips
Gently fold in the chocolate chips until evenly distributed throughout the batter.
Bake
Pour the batter into a greased 9x13 inch baking pan. Bake in the preheated oven for about 25 minutes, or until a toothpick inserted comes out with a few moist crumbs.
Cool and Serve
Allow the brownies to cool in the pan for at least 10 minutes before cutting into squares. Serve warm or at room temperature.
Enjoy your delicious brownies!
Pro Tips
- For an extra touch of flavor, consider adding chopped nuts or a swirl of peanut butter through the brownie batter before baking. Store leftovers in an airtight container for up to a week.
Ingredient Substitutions
If you're looking to make these brownies dairy-free, consider substituting the unsalted butter with coconut oil or a vegan butter alternative. Both options provide the necessary fat while keeping the rich texture intact. Additionally, using dairy-free chocolate chips can help maintain the chocolatey goodness while adhering to dairy-free diets.
For a healthier option, you could swap out granulated sugar for coconut sugar. This will give the brownies a slightly different flavor profile but maintains the moisture level. Be aware that coconut sugar may cause the brownies to have a slightly darker color, so keep an eye on them while they bake!
Storing and Freezing Brownies
To store your brownies, place them in an airtight container at room temperature for up to 3 days. If you’d like to prolong their life, consider wrapping them tightly in plastic wrap and placing them in the fridge where they can last up to a week. The cold environment can actually enhance their fudginess over time.
For longer storage, these brownies freeze beautifully! Simply cut them into squares, wrap each piece individually in plastic wrap, and place them in a freezer-safe bag. They can be frozen for up to three months. When you’re ready to enjoy them, thaw the brownies at room temperature for about an hour, or warm them in a microwave for a quick indulgence.
Questions About Recipes
→ Can I use dark chocolate instead of semi-sweet?
Absolutely! Dark chocolate will give your brownies a deeper flavor.
→ How do I know when the brownies are done?
Use a toothpick; it should come out with a few moist crumbs but not wet batter.
→ Can I make these brownies gluten-free?
Yes, simply substitute all-purpose flour with a gluten-free flour blend.
→ How should I store the brownies?
Keep them in an airtight container at room temperature for up to a week.
Rich Brownies With Chocolate Chips
Created by: Jacqueline Moore
Recipe Type: Daily Inspiration
Skill Level: Easy
Final Quantity: 16 pieces
What You'll Need
Brownie Ingredients
- 1 cup unsalted butter, melted
- 2 cups granulated sugar
- 4 large eggs
- 1 teaspoon vanilla extract
- 1 cup all-purpose flour
- 1 cup unsweetened cocoa powder
- 1/2 teaspoon salt
- 1 cup semi-sweet chocolate chips
How-To Steps
Preheat your oven to 350°F (175°C). In a large mixing bowl, combine the melted butter and granulated sugar. Mix well until creamy, then add the eggs one at a time, incorporating each well before adding the next. Stir in the vanilla extract.
In another bowl, sift together the flour, cocoa powder, and salt. Gradually add this dry mixture to the wet ingredients, stirring until just combined. Be careful not to overmix!
Gently fold in the chocolate chips until evenly distributed throughout the batter.
Pour the batter into a greased 9x13 inch baking pan. Bake in the preheated oven for about 25 minutes, or until a toothpick inserted comes out with a few moist crumbs.
Allow the brownies to cool in the pan for at least 10 minutes before cutting into squares. Serve warm or at room temperature.
Extra Tips
- For an extra touch of flavor, consider adding chopped nuts or a swirl of peanut butter through the brownie batter before baking. Store leftovers in an airtight container for up to a week.
Nutritional Breakdown (Per Serving)
- Calories: 380 kcal
- Total Fat: 26g
- Saturated Fat: 15g
- Cholesterol: 195mg
- Sodium: 85mg
- Total Carbohydrates: 32g
- Dietary Fiber: 3g
- Sugars: 24g
- Protein: 6g